

Step by Step Floor Refinishing
By Andy Maxey · · Updated
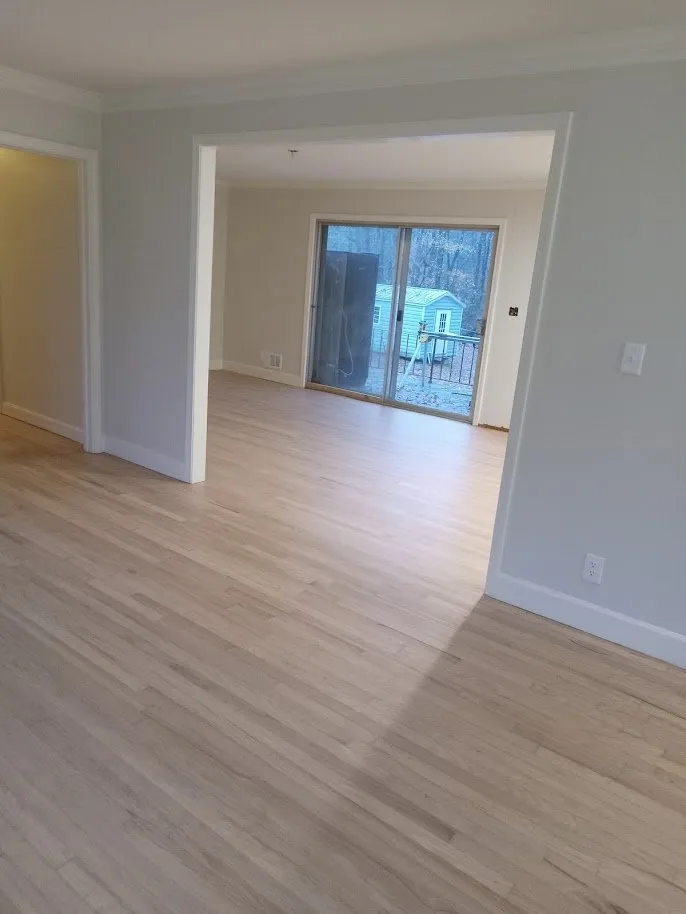
It certainly isn’t easy making an old wood floor look good again. Lots of work goes into the final product but, in the end, it’s one of the most satisfying things to accomplish! Here’s a step by step look at how it’s done.
1. Rough sanding
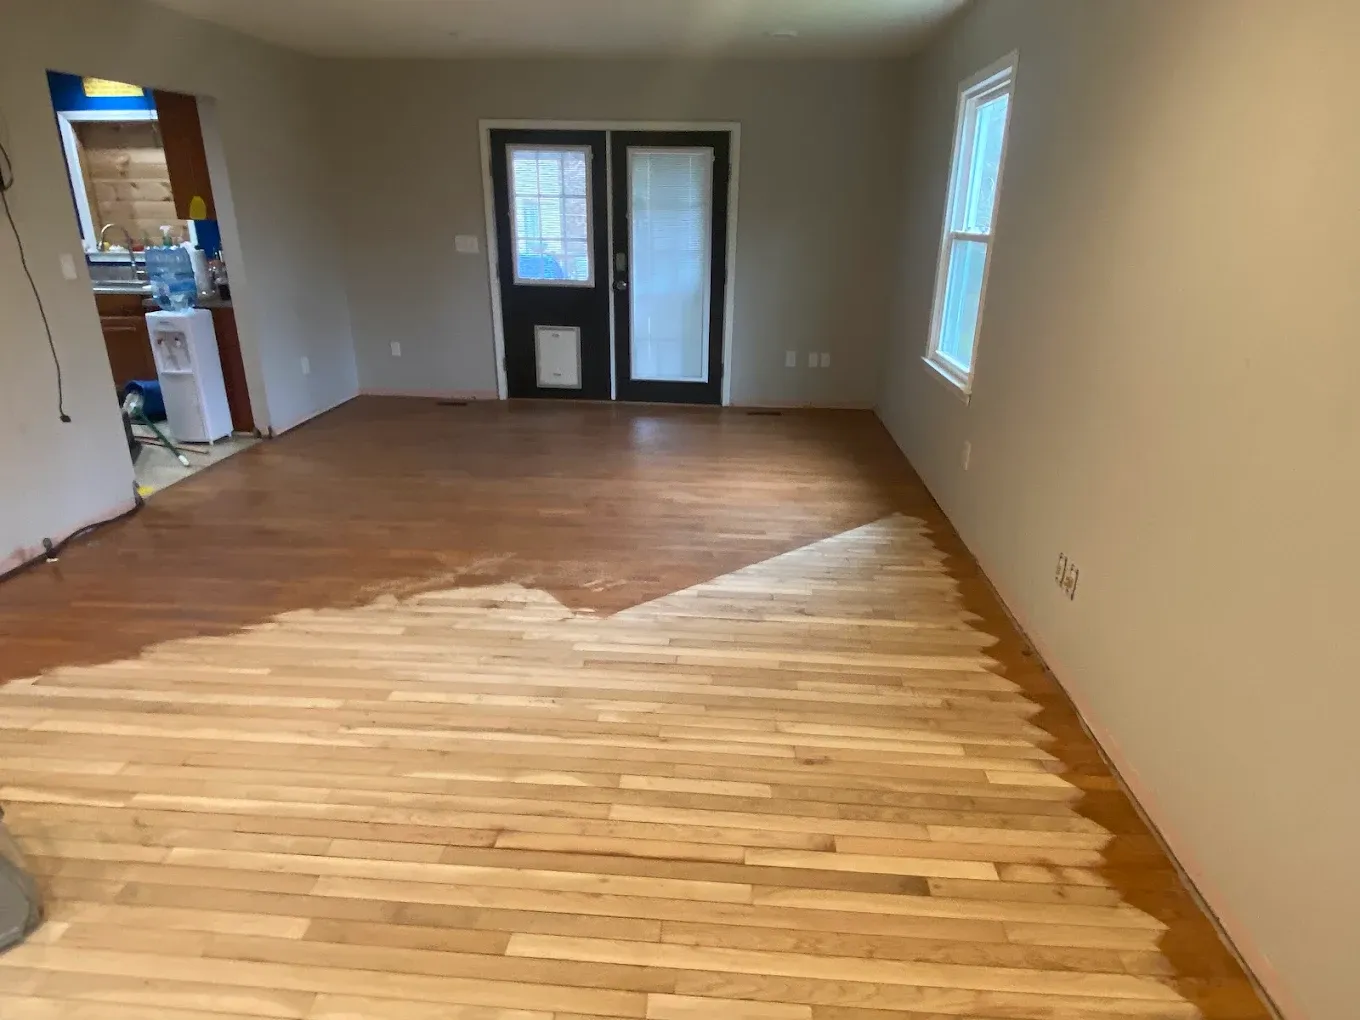
First, the old finish has to come off. This is usually done with 40–60 grit sandpaper. The first sanding accomplishes two things: it cuts off the old finish, and it makes the floor flat.
How coarse you start depends on the floor. A floor with thick old finish, paint, or cupped boards needs the 40. A floor that’s just worn might only need the 60. Starting coarser than you need to just means more scratches to take out later.
2. Trowel filling
After the old finish is removed, the next step is to trowel fill the entire surface with wood filler. Some hardwood floor companies only spot fill the gaps. I find it’s better to trowel the whole floor, for two reasons: you don’t miss any gaps, and once the filler dries you can spot the problem areas, like heavy sanding marks left by the 40–60 grit.
3. Fine sanding
Once the filler dries, you can move on to fine sanding. Usually you’ll go from a 60 grit rough sand to a 100 grit fine sand. If you started with 40 grit, it’s best to fine sand to 80 first. The purpose of fine sanding is, again, twofold: to remove the filler from the face of the boards, and to take out the heavy sanding marks left from the rough sanding.
4. Buffing
Now the floor is ready for its last bit of fine tuning before the finish goes on: buffing. With a keen eye, you can spot what was missed in the fine sanding and blend the areas where the two sanding machines meet.
What I mean by that is: the big drum or belt sander does the main floor, and an edger (a small sander) reaches the places the big machine can’t, along the walls and in the corners. Those two machines leave slightly different scratch patterns, and you can see the line where they meet. Buffing with a 100 grit screen blends it out. With lots of patience, this step can make the difference between a ‘good’ floor and an ‘awesome’ one. Take your time!!
5. Staining (if you want color)
If you’re changing the color, stain goes on after buffing and before any finish. Natural floors skip this step. A little tip: always try the stain on a small area of the actual floor first. The same stain looks different on red oak, white oak, and pine, and the can lid never tells the whole story.
6. Coating
Last, but not least, you’re ready to coat! First, vacuum the floor very thoroughly!! Remember, any dust left behind will be stuck in the finish for good. Using a paint roller or a water-based flooring applicator, ‘snowplow’ the finish on with the grain of the wood. Most floors get a sealer coat and then two coats of finish, with a light buff between coats so each one bonds to the last.
Hope this has been helpful! If you have any questions, send me a message — I’m always happy to talk floors!!